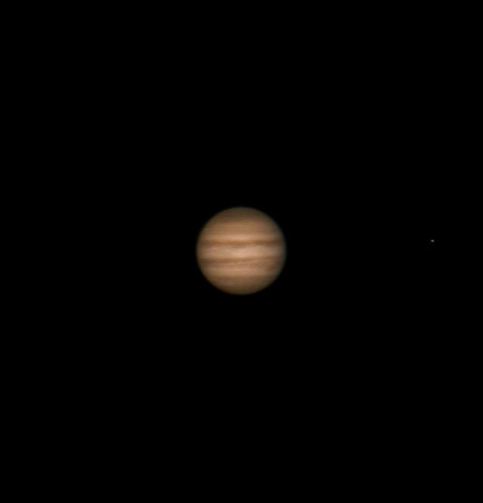
Planetary photography can be very interesting and rewarding. We are lucky to have several planets in our solar system that are bright enough at various times of the year to see and photograph. Our solar systems most massive planet, Jupiter, is one of those, providing some breathtaking views and images. The planet features colorful bands, a Giant Red Spot, and four bright moons that are easy to see and capture in images.
The first thing you will need to photograph Jupiter effectively is a telescope with a relatively long focal length. I have an Orion APO refractor with 480mm of focal length, but that simply isn't enough to capture any noticeable detail on Jupiter's surface. That is more of a wide-field scope for things like galaxies, star clusters, and nebulae. My other telescope is an Orion Maksutov-Cassegrain model with 2700mm of focal length. Now we're talking! I would say that a focal length of around 1500mm would be the minimum that I would recommend for planetary work.
Now what kind of camera should you use? Some prefer to connect a DSLR or Micro Four Thirds camera to the telescope and shoot in what we call prime focus. I have done that a few times myself, but the general consensus is that a CCD camera is a better option. I use an Orion Planetary Imaging Camera and I have had excellent results with it. A CCD camera is rather small and you will need to connect it to a laptop during your imaging session. The camera displays your target on the laptop, and you will use special image-acquisition software on the laptop to shoot videos of your target. Why shoot video? The idea is that you want to capture a lot of detail, and video offers hundreds (or thousands) of frames. You then use a stacking program such as AutoStakkert, AviStack, or RegiStax to align and stack your video frames. This will (hopefully) produce a nicely detailed composite of your video frames. You can then take that composite image and edit it in Photoshop, Lightroom, or any other image-editing program you prefer.
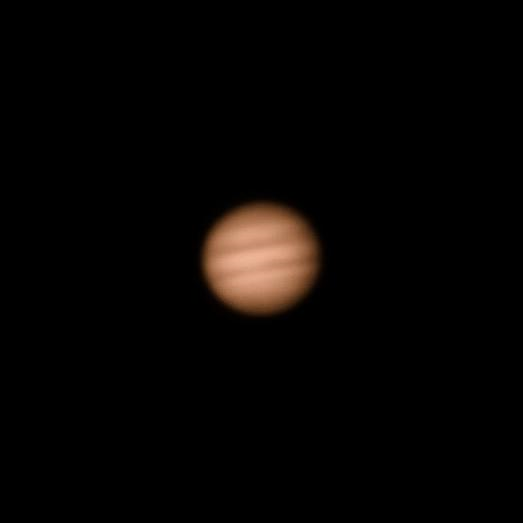
Another consideration for shooting a planet is how high it is above the horizon. When an object has just come up over the horizon, you will be observing it through a lot more of Earth's atmosphere than if it were up higher in the sky. So don't try to image Jupiter just after it has cleared the trees. Wait until it's at least about 45 degrees or higher if possible so you will be dealing with less atmospheric interference. Here is an example of a shot of Jupiter when it was just coming up.
You can make out the bands, but they are pretty blurry.
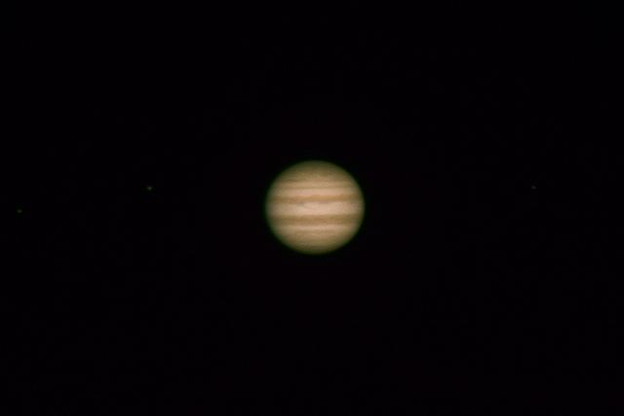
Now here is a better shot that was taken when Jupiter was much higher in the sky.
Here you can see much better detail and you can even see three of the Galilean Moons. Two are on the left and one is on the right.
Once you've set up your scope, connected the camera, and pointed at Jupiter you will now want to make sure that your focus is as accurate as possible. Poor focus will mean you get a blurry image and that is incredibly frustrating. You might want to consider a dual-speed focuser if you don't have one. I have a dual-speed Crayford focuser and it lets me do very fine adjustments to the focus and that has really helped with the quality of my images.
After you've gotten focused, it's now time to start shooting some video. Check to see how many frames per second your camera can shoot, and start with a video that will capture 500 frames. If your camera shoots at 15 frames per seconds, that's about 33 seconds of video. You might be surprised at how good of an image you can get from a video of that length.
Now that you've got a video file, you will have one of those stacking programs align the video frames and then stack them into one composite image for you. Consult the documentation for the program that you are using. I have found that I get the best results from AutoStakkert, but others prefer RegiStax or AviStacker. It couldn't hurt to process the same video file with multiple programs and see which one comes out best. I often do that myself.
When you finally get a composite image, feel free to use Photoshop, Lightroom, or whatever your favorite image-editing program is to do some processing. I often use the sharpen and levels adjustments to refine the image and try to bring out as much detail as possible. If your image isn't that great, try shooting 1,000 frames next time. If your focus is good and Jupiter is high enough in the sky you should be able to get some pretty good images.
After you've gotten some practice with Jupiter, try your hand at the other bright planets. Saturn and Mars will being coming into the night sky this spring, and they make excellent targets as well.
Happy shooting and clear skies!
Do you have any questions or experiences to share about imaging Jupiter? Share them in the 'review' section of this article.
Stephen is a native of Georgia and works in the field of instructional technology. He has been an educator for the past 24 years and is a lifelong admirer of the night sky. He took up astrophotography in 2012 and is still learning new techniques and how to improve them.


